
How to Wire Thermostat
author: Lily
2025-06-10
How to Wire Thermostat
In an era where energy efficiency and home comfort are top priorities, understanding how to wire a thermostat can empower homeowners to take control of their heating and cooling systems. Whether you're replacing an old thermostat or installing a new one, here's a comprehensive Q&A to guide you through the process.
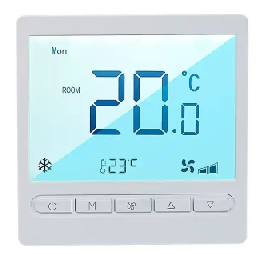
Q: What tools and materials do I need before starting?
A: Before you begin, gather the following essentials. You'll need a new thermostat, a screwdriver (both flathead and Phillips), a voltage tester, wire nuts, electrical tape, and a label maker or small pieces of paper and a pen for labeling wires. It's also crucial to have your thermostat's user manual on hand, as different models may have specific installation requirements.
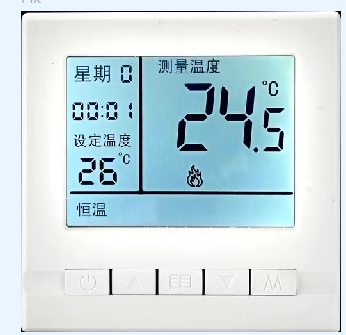
Q: How do I ensure safety before starting the wiring process?
A: Safety should be your utmost concern. First, turn off the power to your heating and cooling system at the circuit breaker. Use a voltage tester to double-check that there's no electricity flowing to the old thermostat. This step prevents the risk of electric shock during the installation. Additionally, wear insulated gloves for an extra layer of protection.
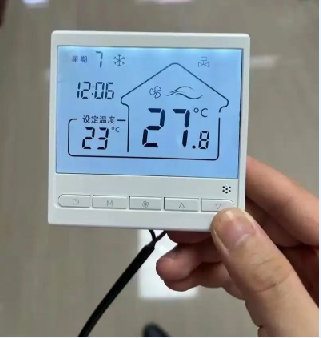
Q: What's the first step in removing the old thermostat?
A: Start by removing the cover of the old thermostat. Most thermostats have a clip or screws holding the cover in place. Once the cover is off, you'll see the wires connected to the thermostat. Use your label maker or paper and pen to mark each wire according to the terminal it's connected to (e.g., R, W, Y, G). These labels are essential as they'll help you connect the wires correctly to the new thermostat. After labeling, carefully loosen the terminal screws and gently pull the wires out of the old thermostat.


Q: How do I connect the wires to the new thermostat?
A: Take your new thermostat and refer to the user manual for the correct terminal layout. Match the labeled wires from the old thermostat to the corresponding terminals on the new one. For example, the red wire (usually labeled R) is often connected to the R terminal, which provides power. The white wire (W) typically goes to the W terminal for the heating system, the yellow wire (Y) to the Y terminal for the cooling system, and the green wire (G) to the G terminal for the fan. Tighten the terminal screws firmly to ensure a secure connection, but be careful not to overtighten and damage the wires.
Q: Are there any additional steps after wiring the thermostat?
A: Yes, there are a few more steps. First, attach the base of the new thermostat to the wall using the provided screws. Make sure it's level for accurate temperature readings. Then, carefully tuck the wires back into the wall and snap the thermostat cover into place. After that, restore power to your heating and cooling system at the circuit breaker. Follow the instructions in the thermostat's manual to set the date, time, and initial temperature settings.
Q: What should I do if the thermostat doesn't work after installation?
A: If the thermostat isn't working, don't panic. First, double-check that the power is on at the circuit breaker and that all the wires are securely connected to the correct terminals. Check if the thermostat display is blank or showing an error message. If it's blank, it could be a power issue, and you may need to recheck the wire connections, especially the R wire. If there's an error message, refer to the user manual for troubleshooting steps. It could indicate a miswired connection or an issue with the system settings.
Wiring a thermostat may seem daunting at first, but by following these steps and taking the necessary safety precautions, you can successfully install a new thermostat and enjoy better control over your home's temperature. If you're still unsure or uncomfortable with the process, it's always a good idea to consult a professional HVAC technician.
The Marvel of Thermostat Heating and Cooling
wire colors on thermostat
Related Article

This shift has made traditional, manual thermostats obsolete, paving the way for advanced smart technologies.
Why You Need a Smart Thermostat

A true 7 Day programmable room thermostat offers the ultimate granular control. It allows users to program a distinct, customized heating and cooling schedule for every single day of the week.
How a 7 Day Programmable Room Thermostat Maximizes Home Comfort and Efficiency

A premium Riseem thermostat is not just a digital display on your wall; it is the ultimate gatekeeper of your indoor environment.
Why a Quality Thermostat Is the Key to a More Comfortable Home

While the TUYA app provides the elegant interface, the physical thermostat remains the brain of the operation. Riseem has engineered a device that looks minimalist on your wall while delivering industrial-grade precision to your HVAC equipment.
Welcome to the Future of Home Automation The Ultimate Guide to TUYA WIFI Smart Thermostats