
how do you replace thermostat
author: Somi
2025-04-02
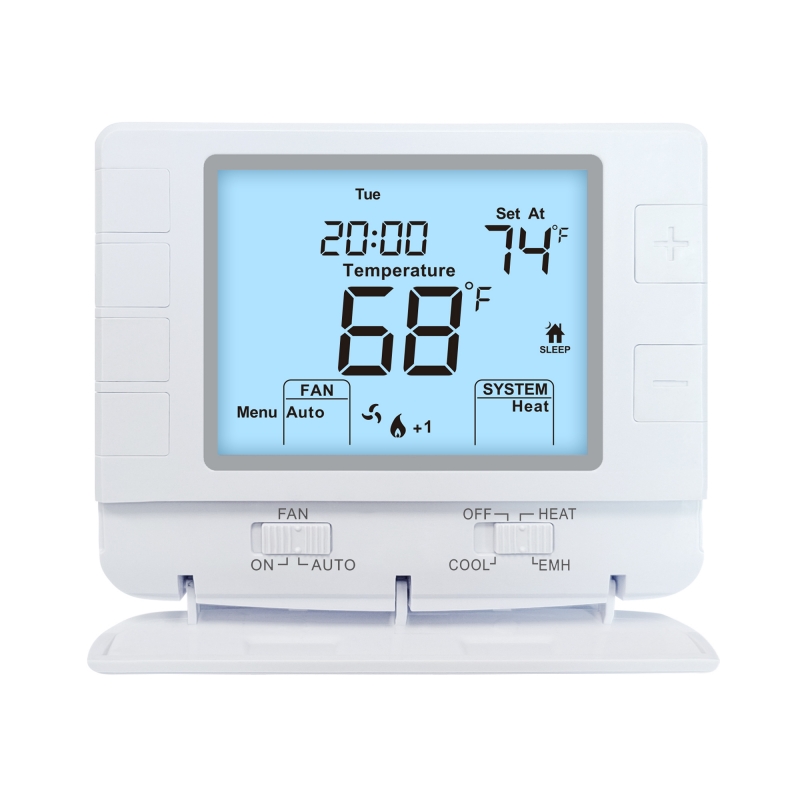
How Do You Replace a Thermostat
1. Introduction
A thermostat is a crucial component in your home's heating and cooling system. Over time, it may become inaccurate, outdated, or simply stop working. Replacing your thermostat can enhance comfort, improve energy efficiency, and give you more control over your indoor climate. In this blog, we'll guide you through the process of thermostat replacement, with a special mention of Ocean Controls Limited, a trusted provider of high - quality thermostats.
2. Determine Compatibility
Know Your HVAC System
Before purchasing a new thermostat, you need to understand your heating, ventilation, and air - conditioning (HVAC) system. Is it a single - stage, multi - stage, or heat pump system? Different systems require different types of thermostats. Ocean Controls Limited offers a wide range of thermostats designed to be compatible with various HVAC setups. Check the product specifications on their website or consult their customer support to ensure a proper match.
Consider Smart Features
If you're interested in smart home integration, look for a thermostat with Wi - Fi connectivity, learning capabilities, and compatibility with voice assistants. Ocean Controls Limited's smart thermostats can be controlled remotely via a smartphone app, allowing you to adjust the temperature even when you're away from home.
3. Gather Tools and Materials
Tools
You'll need a few basic tools for the replacement process. A screwdriver (both flat - head and Phillips - head) is essential for removing the old thermostat and installing the new one. Wire strippers will come in handy if you need to adjust the wire lengths. A voltage tester is also recommended to ensure your safety by confirming that the power is off.
Materials
Of course, you'll need a new thermostat from Ocean Controls Limited. Additionally, gather electrical tape to secure wire connections and any mounting hardware that comes with the thermostat.
4. Turn Off the Power
Locate the Circuit Breaker
Find the circuit breaker that controls your HVAC system. It's usually labeled in your electrical panel. Switch it to the "off" position to cut the power to the thermostat. Use a voltage tester on the thermostat wires to double - check that there is no electricity flowing. This step is crucial to prevent electrical shocks during the replacement process.
5. Remove the Old Thermostat
Take a Picture
Open the cover of the old thermostat and take a clear picture of the wiring. This will serve as a reference when you connect the wires to the new thermostat. Pay attention to the color - coding and the labels on the terminals (e.g., R for power, W for heat, Y for cooling, G for fan).
Disconnect the Wires
Loosen the terminal screws and gently pull the wires out. If your thermostat has push - in connectors, use a small tool to release the wires. Once all the wires are disconnected, remove the thermostat from the wall.
6. Install the New Thermostat
Mount the Wall Plate
Take the wall plate that comes with your Ocean Controls Limited thermostat. Hold it against the wall where the old thermostat was and use the provided screws to attach it securely. Make sure it's level for a neat installation.
Connect the Wires
Refer to the picture you took earlier and connect the wires to the corresponding terminals on the new thermostat. Tighten the screws to ensure a good connection. If the wire lengths need adjustment, use the wire strippers to remove a small amount of insulation and then reconnect.
Attach the Thermostat
Once the wires are connected, carefully snap or slide the thermostat onto the wall plate. Replace the cover and ensure it fits properly.


7. Power On and Test
Restore Power
Go back to the electrical panel and switch the circuit breaker for the HVAC system back to the "on" position.
Set the Temperature
Set the thermostat to your desired temperature. Wait a few minutes to see if your heating or cooling system turns on. If it doesn't, double - check your wire connections or refer to the troubleshooting guide provided by Ocean Controls Limited.
Replacing a thermostat may seem daunting at first, but by following these steps and using a reliable product from Ocean Controls Limited, you can successfully upgrade your home's climate control system.
what temperature should a room thermostat be set at
what is a c wire on a thermostat
Related Article

This shift has made traditional, manual thermostats obsolete, paving the way for advanced smart technologies.
Why You Need a Smart Thermostat

A true 7 Day programmable room thermostat offers the ultimate granular control. It allows users to program a distinct, customized heating and cooling schedule for every single day of the week.
How a 7 Day Programmable Room Thermostat Maximizes Home Comfort and Efficiency

A premium Riseem thermostat is not just a digital display on your wall; it is the ultimate gatekeeper of your indoor environment.
Why a Quality Thermostat Is the Key to a More Comfortable Home

While the TUYA app provides the elegant interface, the physical thermostat remains the brain of the operation. Riseem has engineered a device that looks minimalist on your wall while delivering industrial-grade precision to your HVAC equipment.
Welcome to the Future of Home Automation The Ultimate Guide to TUYA WIFI Smart Thermostats