
How should I test the thermostat
author: Lily
2025-06-23
How Should I Test the Thermostat?
Q: My home’s heating or cooling system isn’t working as expected. Could the thermostat be the problem? How can I test it myself?
A: If your HVAC system seems inconsistent or unresponsive, a faulty thermostat might be the culprit. Testing it is a straightforward process that can help identify issues before calling a professional. Here’s a step-by-step guide to safely test your thermostat:

1. Start with Basic Safety Checks
- Turn Off Power to the HVAC System: Locate your home’s circuit breaker and switch off the power to the heating or cooling unit. This prevents electrical shocks or damage during testing.
- Identify Your Thermostat Type: Determine if you have a digital programmable, smart, or mechanical (dial-style) thermostat. Different types may require slightly different testing approaches.
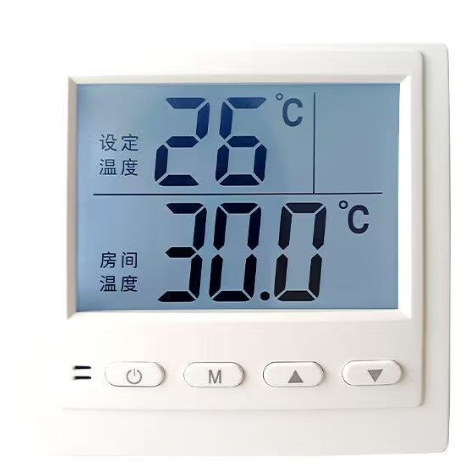
2. Visually Inspect the Thermostat
- Check for loose wires, dust, or debris around the wiring terminals. Loose connections often cause malfunctions.
- For digital thermostats, ensure the display is powered on. If it’s blank, replace the batteries or check the power supply.
- For mechanical thermostats, inspect the dial or buttons for stiffness or damage.
3. Test Heating or Cooling Functionality


- Set a Temperature Adjustment:
- For heating: Set the thermostat 5°F higher than the current room temperature. Listen for the furnace or boiler to kick on within a few minutes.
- For cooling: Set the thermostat 5°F lower than the room temperature. Check if the air conditioner starts running.
- Wait for System Response: If the system doesn’t activate, the thermostat may not be sending the correct signal.
4. Use a Multimeter (for Advanced Testing)
- Caution: Only attempt if you’re comfortable with electrical tools.
- Remove the thermostat’s faceplate to access the wiring.
- Set your multimeter to the voltage (V) setting.
- Touch the multimeter probes to the appropriate terminals:
- For heating: Connect to “R” (24V power) and “W” (heating signal).
- For cooling: Connect to “R” and “Y” (cooling signal).
- A reading of ~24V indicates the thermostat is receiving power. If there’s no voltage, the issue may be with the thermostat’s circuitry.
5. Perform a Reset (for Digital/Smart Thermostats)
- Many digital thermostats have a reset button or option in the settings menu. Resetting can resolve glitches in programming.
- For smart thermostats, check the manufacturer’s app for diagnostic tools or reset instructions.
6. Monitor Temperature Accuracy
- Place a separate thermometer near the thermostat and compare its reading to the thermostat’s display. If there’s a discrepancy of more than 2°F, the thermostat may need calibration or replacement.
7. Check Fan Operation
- Set the thermostat to “Fan On” (instead of “Auto”). The fan should run continuously. If not, test the “R” and “G” terminals with a multimeter to check for voltage.
When to Call a Professional
- If the thermostat fails any of the above tests, or if you notice burnt wires, unusual smells, or persistent system issues.
- Digital thermostats with complex wiring or smart models may require professional calibration or repair.
Pro Tips
- Regular Maintenance: Clean the thermostat monthly to prevent dust buildup.
- Upgrade Considerations: If your thermostat is over 10 years old, consider replacing it with a smart model for better accuracy and energy efficiency.
Testing your thermostat can save time and money by identifying issues early. Always prioritize safety, and don’t hesitate to seek professional help if you’re unsure about any step.
The Wonders of AC Digital Thermostats
How accurate are digital room thermostats
Related Article

This shift has made traditional, manual thermostats obsolete, paving the way for advanced smart technologies.
Why You Need a Smart Thermostat

A true 7 Day programmable room thermostat offers the ultimate granular control. It allows users to program a distinct, customized heating and cooling schedule for every single day of the week.
How a 7 Day Programmable Room Thermostat Maximizes Home Comfort and Efficiency

A premium Riseem thermostat is not just a digital display on your wall; it is the ultimate gatekeeper of your indoor environment.
Why a Quality Thermostat Is the Key to a More Comfortable Home

While the TUYA app provides the elegant interface, the physical thermostat remains the brain of the operation. Riseem has engineered a device that looks minimalist on your wall while delivering industrial-grade precision to your HVAC equipment.
Welcome to the Future of Home Automation The Ultimate Guide to TUYA WIFI Smart Thermostats